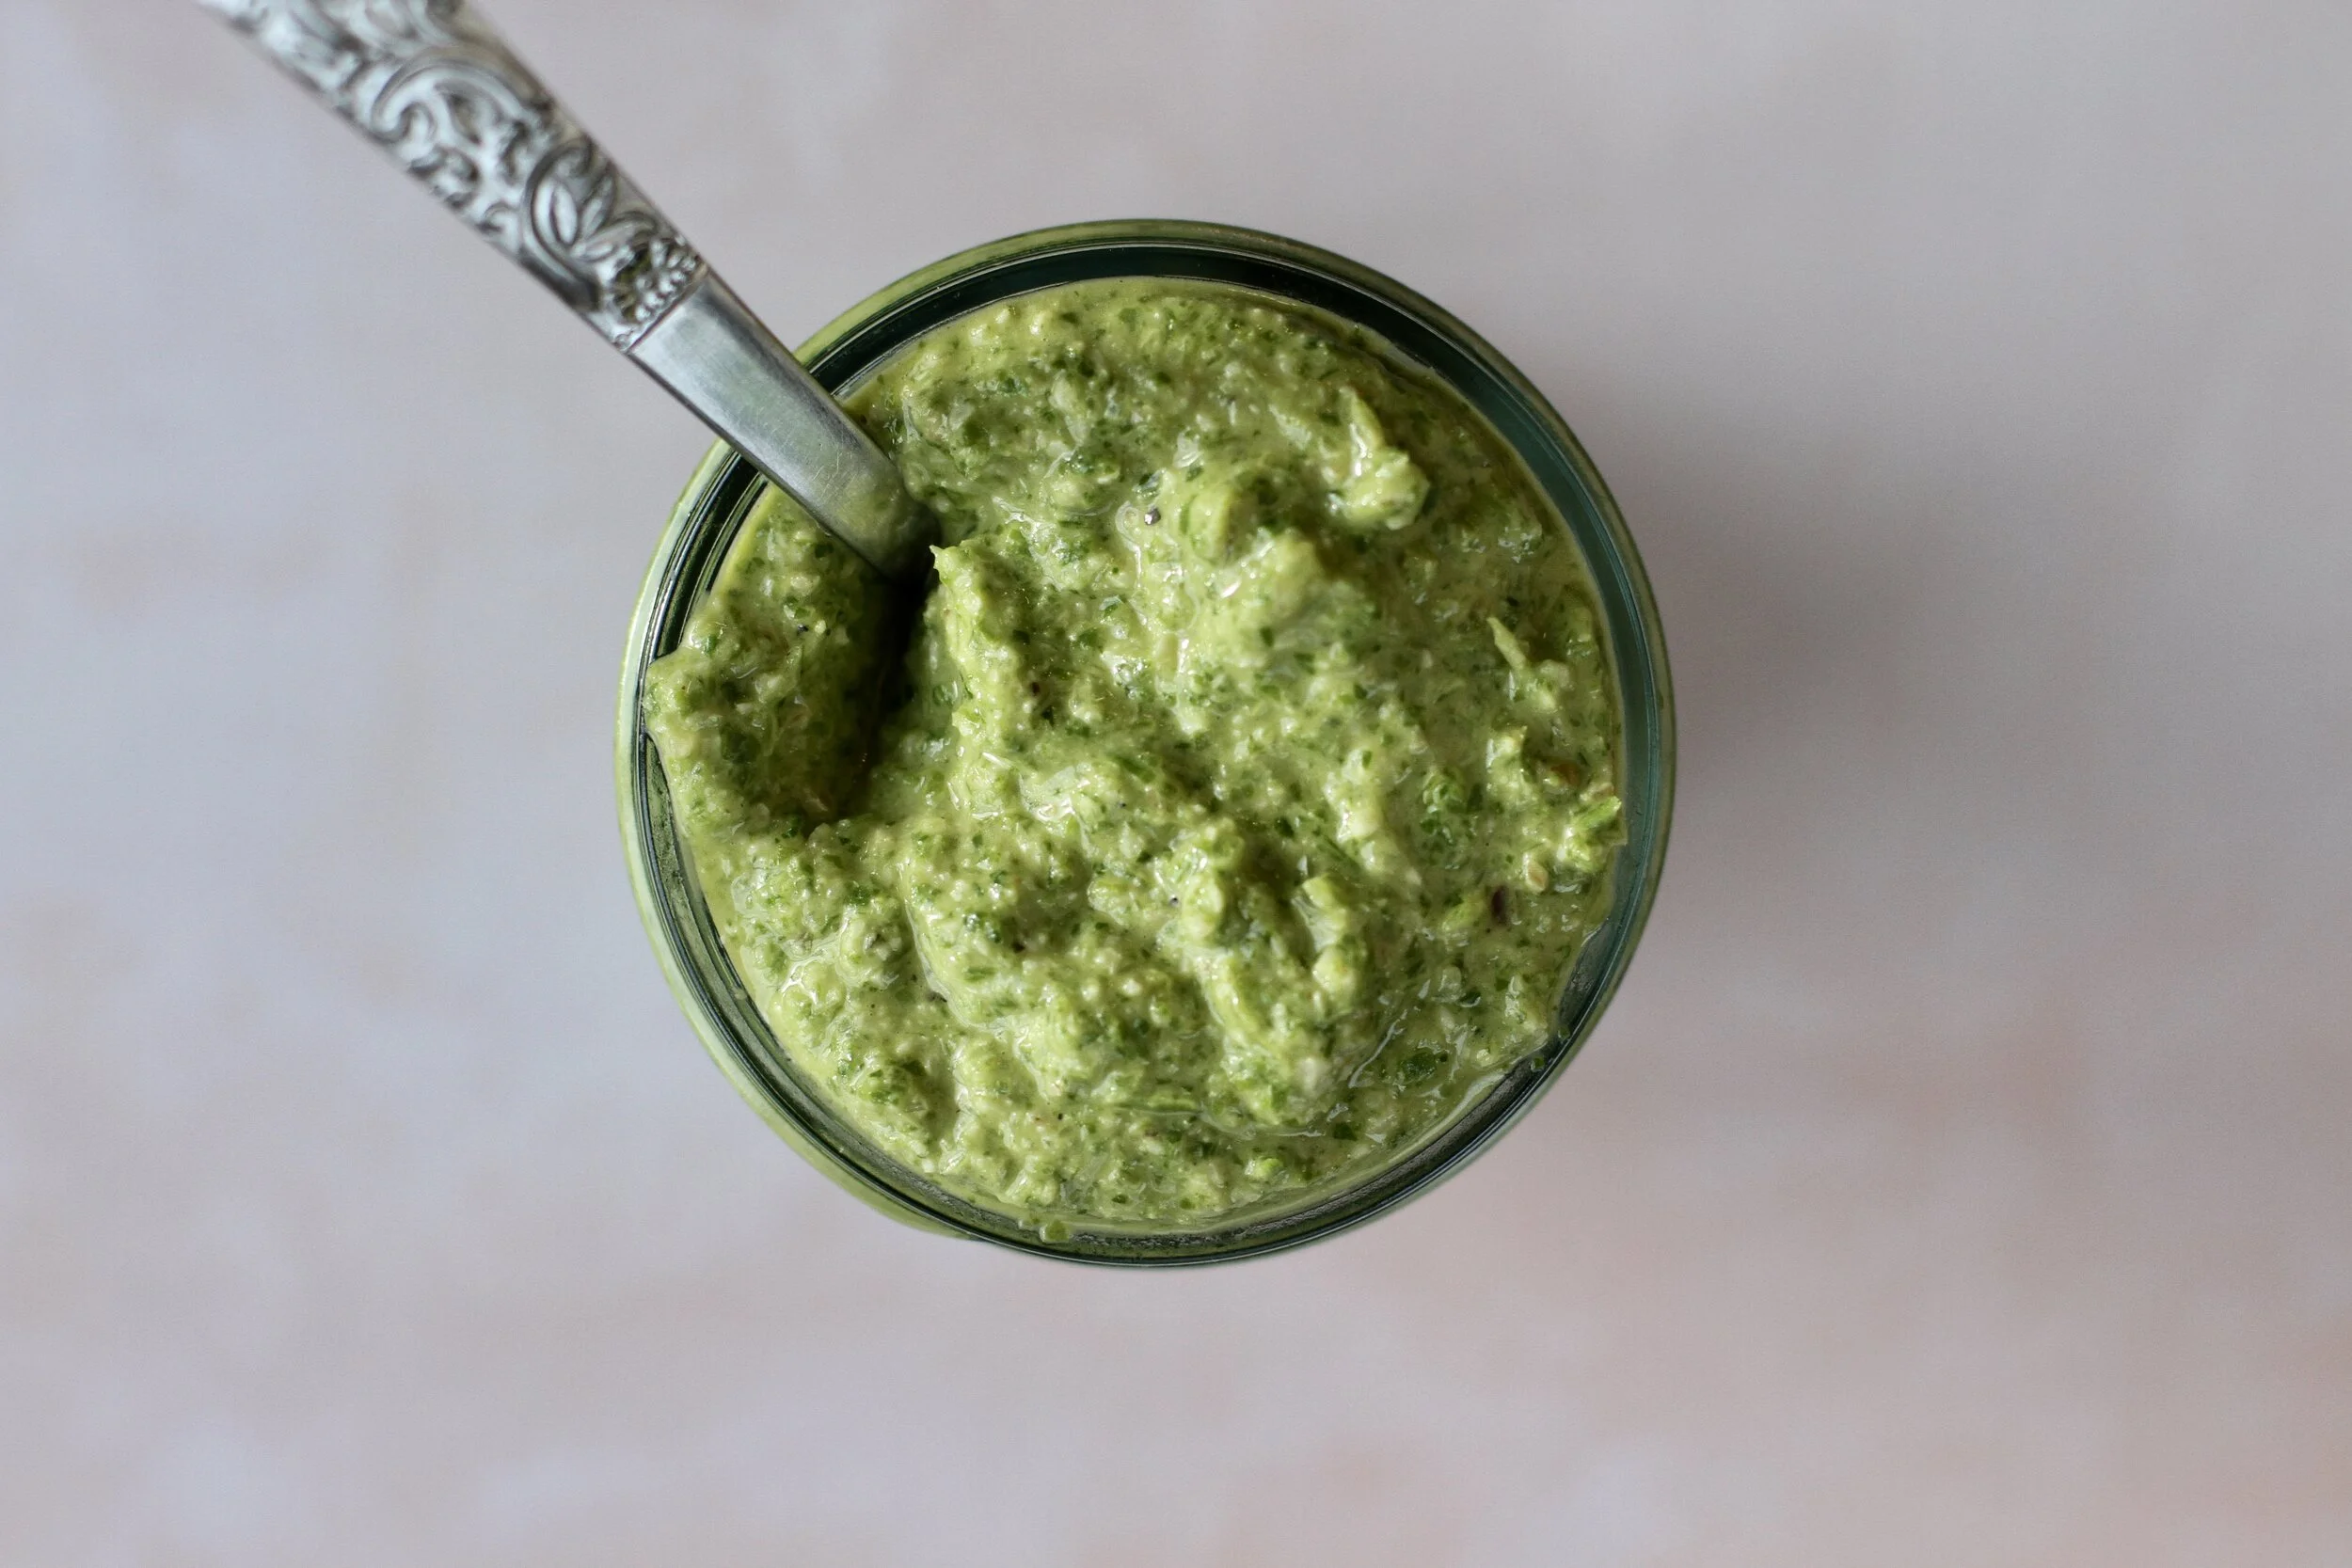
Radish top pesto is a delicious way to reduce food waste!
Have you eaten radish greens before? Embarrassingly, despite radishes being a favorite in our house, we had never given the tops a second thought… Until recently. And now we feel foolish for all the deliciousness we’ve wasted in the past!
We get weekly produce deliveries through Snoqualmie Valley Farmers Cooperative’s CSA — which makes reducing our trips to the grocery store easier (still very important to help slow the spread of COVID-19). It has also made us feel ~extra sensitive~ about letting produce go to waste… A pleasant symptom of an elevated connection to where our food is coming from and how much work goes into producing it.
Naturally, as recipients of a spring CSA box, we’re getting so many gorgeous radishes lately! Whether topping a taco or gracing a salad bowl, having them around has been delightful… But we just had no idea what to do about the tops! Composting vibrant, green radish leaves by the bunch doesn’t feel right. So we did some experimenting and it turns out we have a new slogan... When in doubt: Pesto!
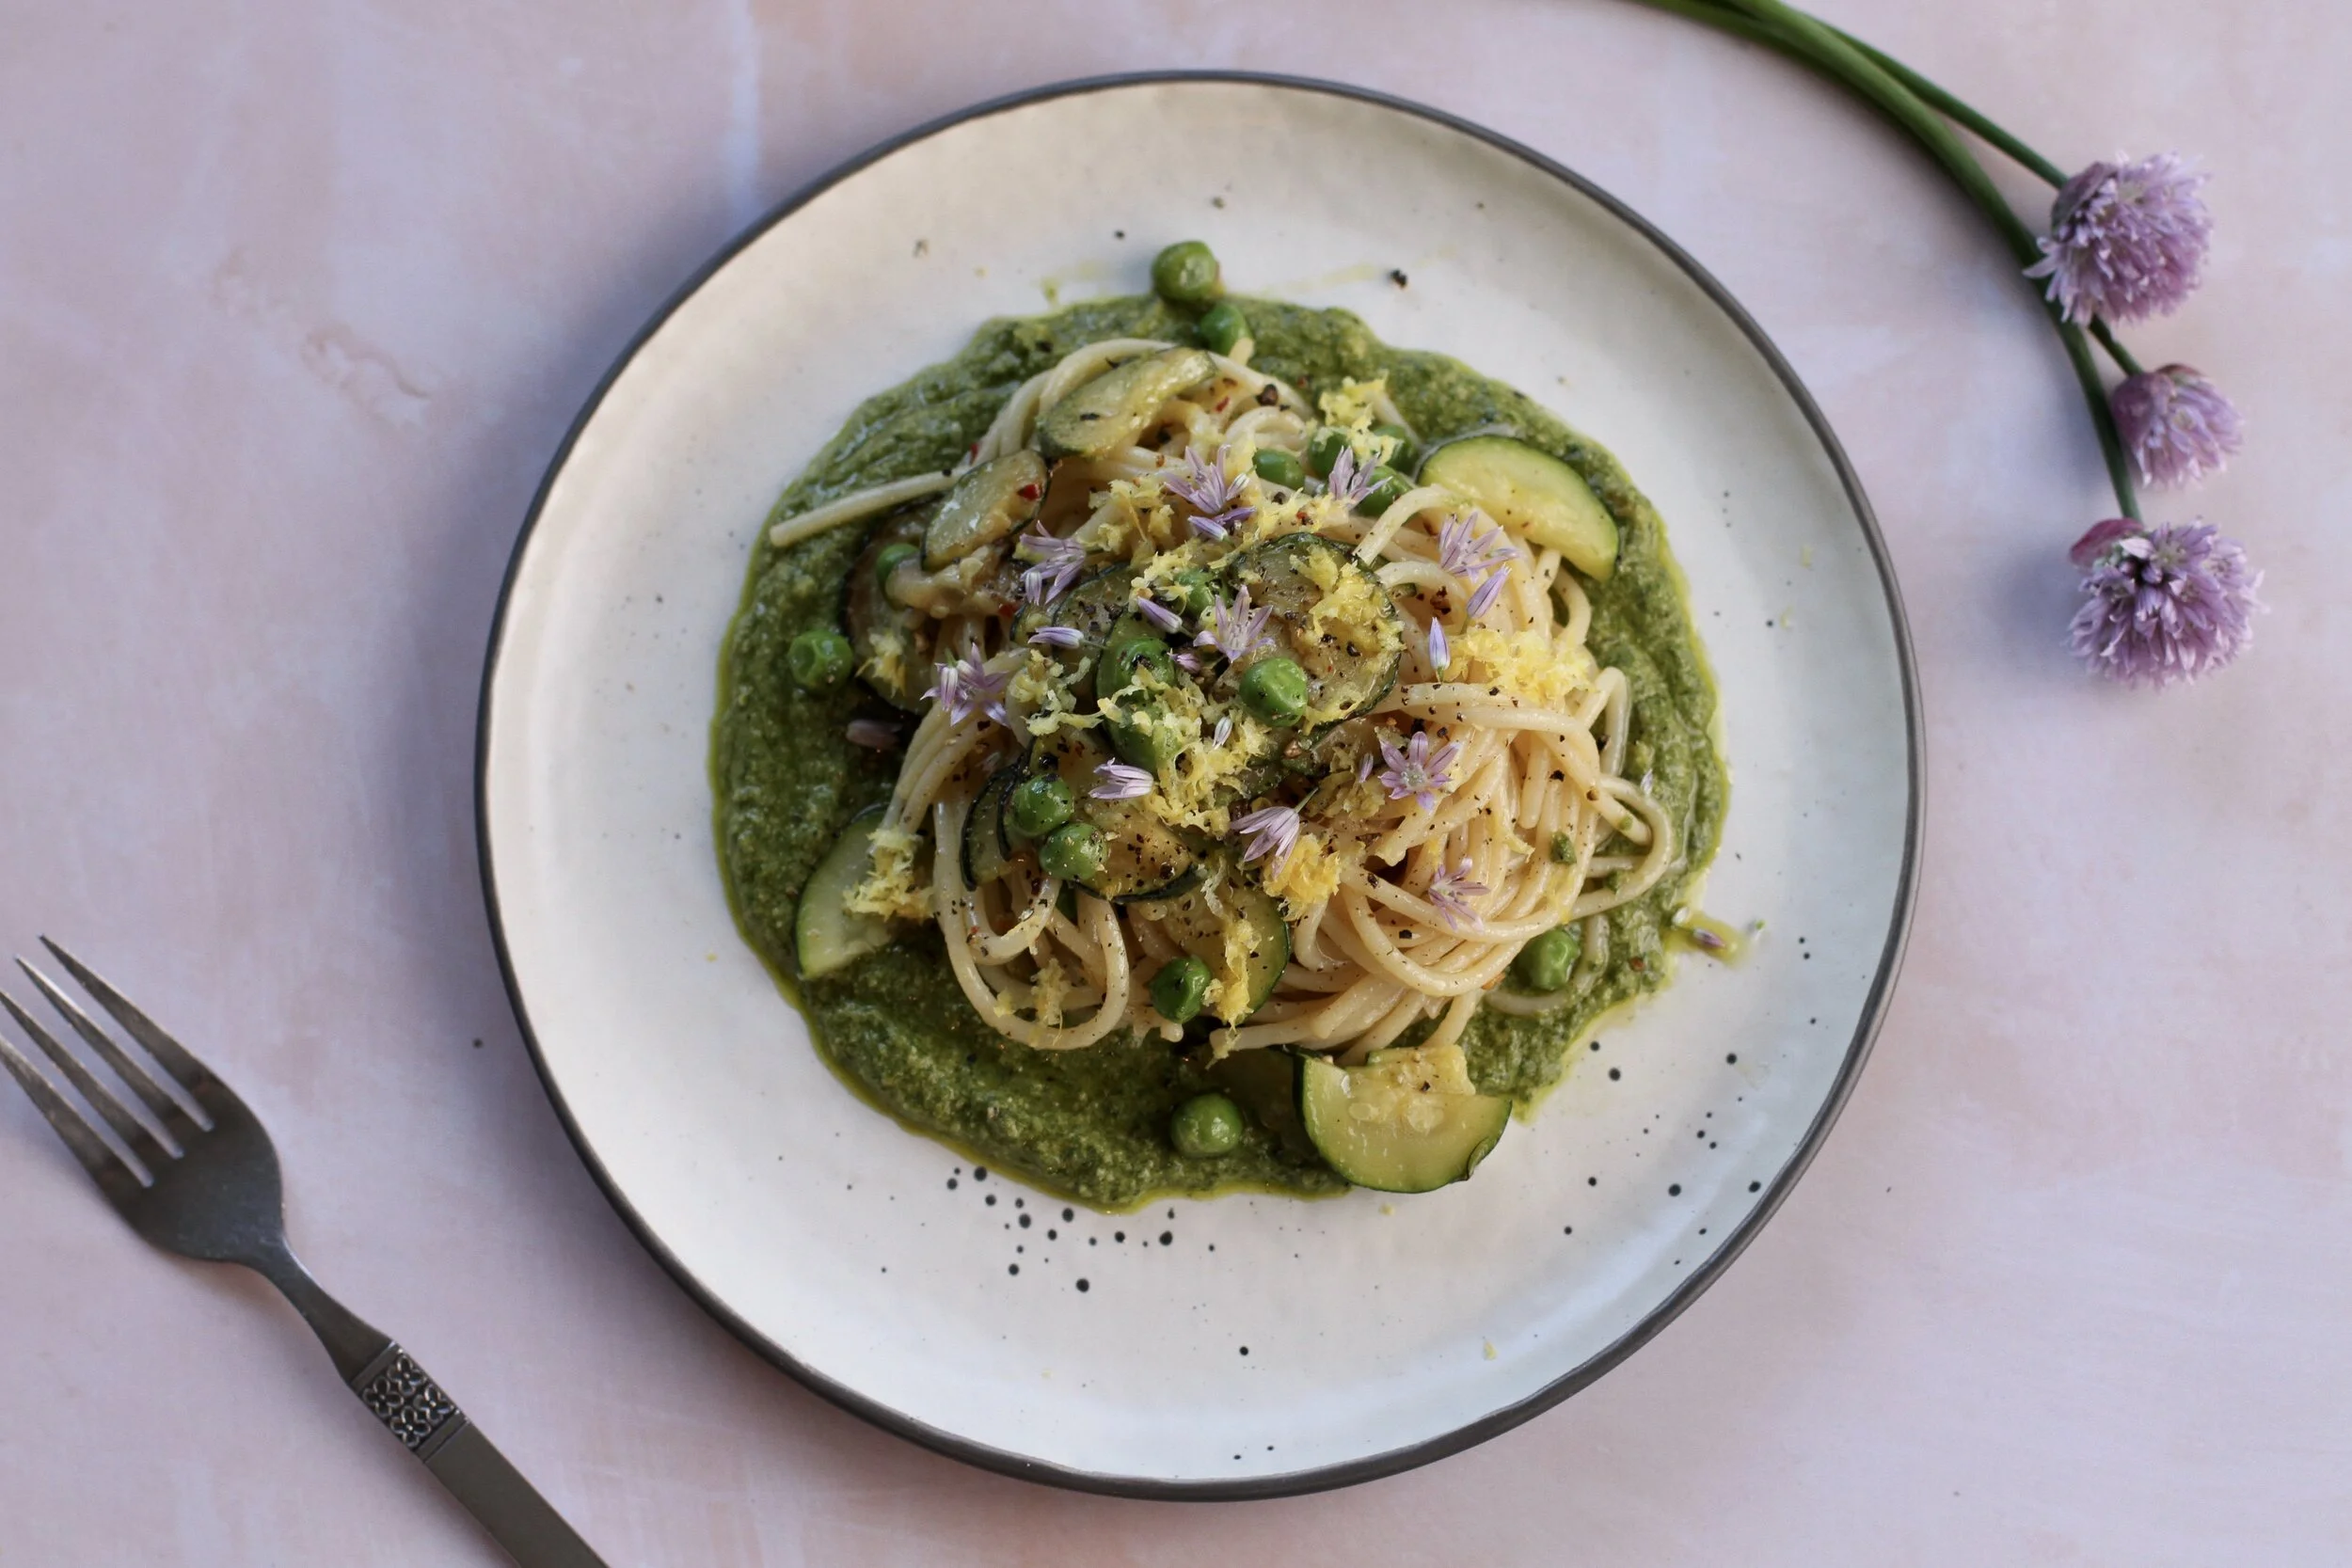
Lively as the spring itself, this peppery pesto is the perfect complement to any number of springtime dishes. Pasta? Pizza? Tempeh? Toast? Check, check, check, and check! It’s even good as a dip for regular old radish roots (yes, really). Thin it into a dressing. Marinate some white beans in it. It is v-e-r-s-i-t-i-l-e!
Switch it up as needed to suit what’s in stock in your pantry and fridge — Use another green, reach for whatever nut or seed you have around, etc. If green garlic is in season, swap that for the garlic cloves! Get the formula down and then experiment with different combos. Become a master at rescuing flavor- and nutrient-packed greens from the compost!
Check out the notes below for pointers and tips that will help you achieve the delicious, bright, springy pesto you’ve been waiting for — Regardless of what your pantry and kitchen appliance situations are.
Tips & Info
Radishes tops are usually pretty dirty, and they wilt quickly. You know that day-five radish top slime? Yuck. It’s a good idea to separate the leaves from the roots when you first get your radishes home, then store the tops like you would any salad green or tender herb. Use them within a few days before they go bad! Before using them, give them a bath in cold water to loosen dirt and revive their crispness… Just be sure to shake them dry thoroughly before making pesto so it doesn’t end up watery.
Other greens work in place of/in combination with radish tops. Arugula, kale, chard, watercress, and mustard greens are a few we think would be good candidates.
No walnuts? No worries. Use cashews, pepitas, sunflower seeds, pine nuts, whatever you’ve got. Just make sure they’re in small pieces before they go into the mix (think baking pieces of walnuts instead of walnut halves)
If you happen to have green garlic when you are making this, use it instead of garlic cloves for an extra springy pesto! Use about ¼ cup chopped (1-3 stalks depending on size).
This recipe works great in a food processor or a blender. Using a blender? Just keep the speed between low and medium or else too much air will incorporate, creating a frothy smoothie-like consistency (ew). You want to use a low speed over a longer time rather than giving in to the temptation to speed things up with a higher setting... Treat medium like maximum here. Work in pulses and low-speed settings, scraping down sides (and using your blender’s plunger, if it has one) frequently.
Radish Top Pesto

Power Plant | David Griffin-Luna | May 16th, 2020
Time: 5-10 minutes | Makes: ~1 cup pesto
Equipment:
Ingredients:
Preparation
1) Toast the walnuts in a pan over medium heat, stirring often, until lightly golden (3-5 minutes). Meanwhile, place all the ingredients except for the walnuts and oil into your blender/food processor. When the walnuts are done, add them too!2)Have your olive oil measured into something easy to pour from. Pulse your blender/food processor until the ingredients are chopped-up and beginning to combine. With the blender/processor running on medium-low speed, stream oil in slowly (this helps it emulsify) through the top “feeder.” Once all the oil has all been added, continue processing on medium-low for 20 seconds or so. Turn your blender/processor off.
3) Scrape down the sides with a spatula and return to blending, either in long pulses or on medium-low, scraping down sides as necessary. Repeat until a smooth, shaggy pesto forms — The longest this should take is a few minutes.
4) Test your ability not to eat the whole batch with a spoon immediately. If you pass the test, serve and/or save your pesto for later in the fridge!


